How to Turn a Picture Into a Coloring Page — Free Guide
Learn how to convert a picture into a coloring page online for free. Step-by-step guide on turning photos into printable coloring pages, with tips and tools.
How to Turn a Picture Into a Coloring Page — Free Photo Converter Guide
Want to skip the guide and just convert a picture to a coloring page? Use our free photo to coloring page converter — upload an image and download a printable coloring page in under 30 seconds.
One of the most exciting developments in the coloring page world is the ability to turn any picture into a coloring page. Instead of relying solely on pre-made designs, you can take a photo of your pet, your family, a vacation landmark, or anything else meaningful and convert it into a unique, personal coloring experience.
This guide walks through how to turn a photo into a coloring page step by step, explains which pictures produce the best results when converting to coloring pages, shares tips for the highest quality output, and explores creative use cases for personalized coloring pages.
Step-by-Step: Converting a Photo to a Coloring Page
The process is straightforward, even if you have no technical skills whatsoever.
Step 1: Choose Your Photo
Select a photo from your phone, computer, or camera roll. The photo should be clear, well-lit, and feature a recognizable subject. You do not need professional photography — a decent smartphone photo works perfectly.
Step 2: Upload to the Tool
Navigate to our photo to coloring page tool and upload your image. The tool accepts common image formats including JPG, PNG, and WEBP. Simply click the upload button, select your file, and wait a moment for it to process.
Step 3: Review and Adjust
Once the tool processes your photo, it generates a line-art version suitable for coloring. Review the result to make sure the key features of your subject are clearly visible. The tool converts photographic detail into clean outlines while removing color and shading, producing a page that looks like it was hand-drawn by an illustrator.
Step 4: Download and Print
Download the finished coloring page as a high-resolution image file. Print it on your home printer or save it for later. For the best coloring experience, print on heavier paper (120 gsm or above) if you plan to use markers, or standard paper for colored pencils and crayons.
Which Photos Work Best?
Not every photo converts equally well into a coloring page. Understanding what makes a good source image helps you get consistently great results.
High Contrast Photos
Photos with strong contrast between the subject and the background convert most cleanly. A dark dog sitting on a light-colored couch, a white cat against a dark blanket, or a bright flower against a green garden — these high-contrast scenarios produce clear, well-defined outlines.
Simple Compositions
Photos with one clear subject and a relatively uncluttered background produce the best coloring pages. A portrait of a person or pet with a plain wall behind them converts more cleanly than a crowded group photo at a busy restaurant. That said, the tool handles moderate complexity well — a garden scene with several flowers or a street scene with a few buildings can still produce appealing results.
Good Lighting
Well-lit photos with even lighting across the subject produce the most consistent line art. Harsh shadows can create confusing dark areas in the converted image, while flat, even light lets the tool identify edges and details accurately. Natural daylight — particularly on an overcast day or in open shade — is ideal.
Sharp Focus
Blurry photos produce blurry coloring pages. Make sure your source photo is in sharp focus, especially on the main subject. If you are photographing a pet, take multiple shots and choose the sharpest one. Modern smartphones have portrait mode features that keep the subject sharp while blurring the background, which actually works very well for coloring page conversion.
Photos to Avoid
Some types of photos consistently produce poor results. Being aware of these pitfalls saves time and frustration.
Very dark photos lack the contrast needed for clear outlines. If the photo looks dark on your phone screen, it will not convert well.
Extremely busy backgrounds with lots of overlapping elements can create a confusing tangle of lines in the output. If the background is distracting, consider cropping the photo to focus on your subject before uploading.
Very small or low-resolution images do not provide enough detail for the tool to work with. If the photo looks pixelated when you zoom in on your phone, it is probably too low-resolution.
Photos where the subject blends into the background — such as a gray cat on a gray carpet — may produce outlines that are difficult to distinguish. Try to choose photos where the subject stands out.
Creative Use Cases
The ability to turn any photo into a coloring page opens up a wide range of creative possibilities.
Pet Portraits
This is the most popular use case by far. Pet owners love turning photos of their dogs, cats, rabbits, birds, and other animals into coloring pages. Children especially enjoy coloring a page that features their own pet — it adds a personal connection that generic animal pages cannot match. These personalized pet coloring pages also make thoughtful gifts for fellow animal lovers.
Family Photos
A family portrait converted into a coloring page makes a unique activity for family gatherings, holiday parties, or rainy afternoons. Kids get a kick out of coloring their own faces and the faces of their siblings and parents. These pages also serve as charming keepsakes — imagine a scrapbook that includes both the original photo and the child's colored version side by side.
Travel and Landmarks
Turn photos from a vacation into coloring pages to extend the trip's memories. The Eiffel Tower, a beach sunset, a mountain vista, or a charming street scene — any of these can become a coloring page that helps children (and adults) relive a favorite journey. Travel coloring pages are also useful for pre-trip excitement. Going to visit grandma's farm? Turn a photo of the farm into a coloring page before you go.
Special Events
Birthday parties, school events, weddings, and holidays all generate memorable photos. Converting those photos into coloring pages creates a unique activity that is tied to the event. A birthday party photo turned into a coloring page makes an excellent thank-you gift for guests. A class photo converted into a coloring page is a fun end-of-year activity.
Educational Use
Teachers can convert photos of historical landmarks, scientific specimens, geographic features, or cultural artifacts into coloring pages. This approach combines visual learning with the engagement of coloring, and it connects students to real-world subjects in a way that clip-art illustrations cannot.
Tips for the Best Results
Here are additional tips to maximize the quality of your photo-to-coloring-page conversions.
Crop before uploading. Remove any unnecessary background elements by cropping your photo tightly around the subject. This focuses the conversion on what matters.
Try portrait orientation. Coloring pages are typically printed on standard letter paper in portrait orientation. A vertically oriented photo maps more naturally to this format than a landscape photo.
Experiment with different photos of the same subject. If your first attempt does not produce the result you want, try a different photo of the same subject. A slightly different angle, lighting condition, or distance can make a noticeable difference in the output.
Combine with other tools. After creating a coloring page from a photo, you might want to generate additional related pages using our coloring page generator. For example, if you converted a photo of your dog into a coloring page, you could also generate a custom page of your dog's breed in a different setting to create a themed coloring set.
Try the color-by-number option. For a different twist, our color by number generator can create a numbered coloring experience from your designs, adding a guided element that younger children often find helpful and fun.
Printing Recommendations
To get the most out of your personalized coloring pages, follow these printing tips.
Print at the highest quality setting your printer offers. The line art needs to be crisp and dark for the best coloring experience. Use "best" or "high quality" print mode rather than draft.
Choose appropriate paper. Standard 80 gsm printer paper works fine for colored pencils and crayons. If you plan to use markers, upgrade to 120 gsm or heavier cardstock to prevent bleed-through.
Print multiple copies. One of the greatest advantages of a digital coloring page is that you can print it as many times as you want. Print one for practice and another for a "final" version. Let multiple family members each color their own copy of the same personalized page and compare results.
Conclusion
Turning a photo into a coloring page bridges the gap between photography and hands-on art. It makes coloring personal, meaningful, and endlessly creative. Whether you are converting a beloved pet portrait, a cherished family photo, or a stunning travel snapshot, the result is a coloring page that carries real emotional weight. Try our photo to coloring page tool today and discover how satisfying it is to color something that is truly yours.
Related coloring pages
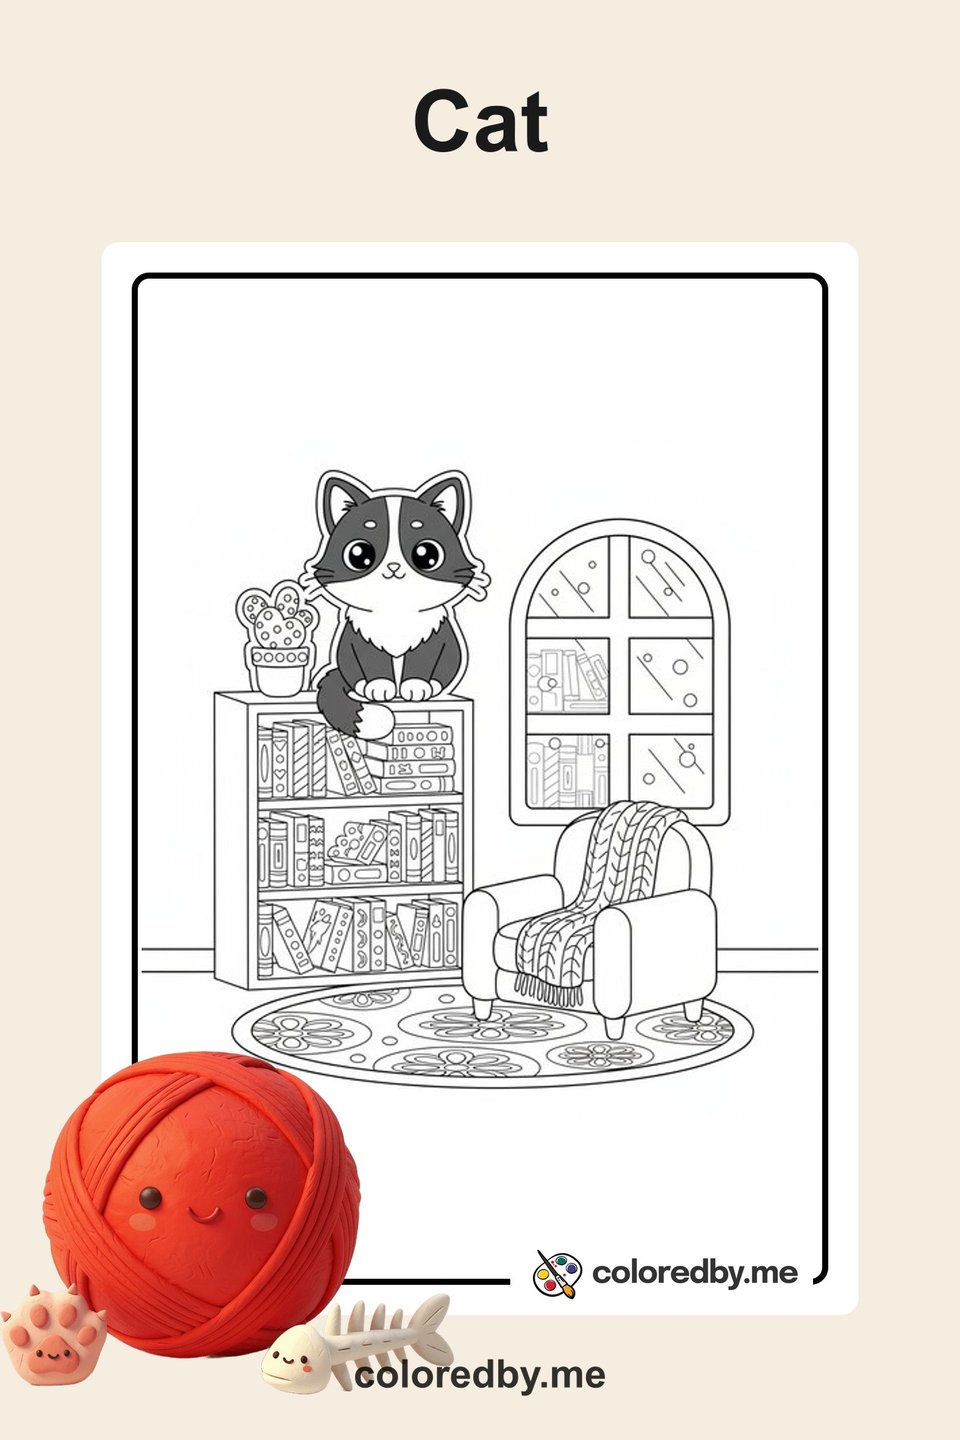
Cat
Free printable cat coloring pages for kids and adults. Cute kittens, playful cats, and detailed feline designs to download and color.
50 coloring pages
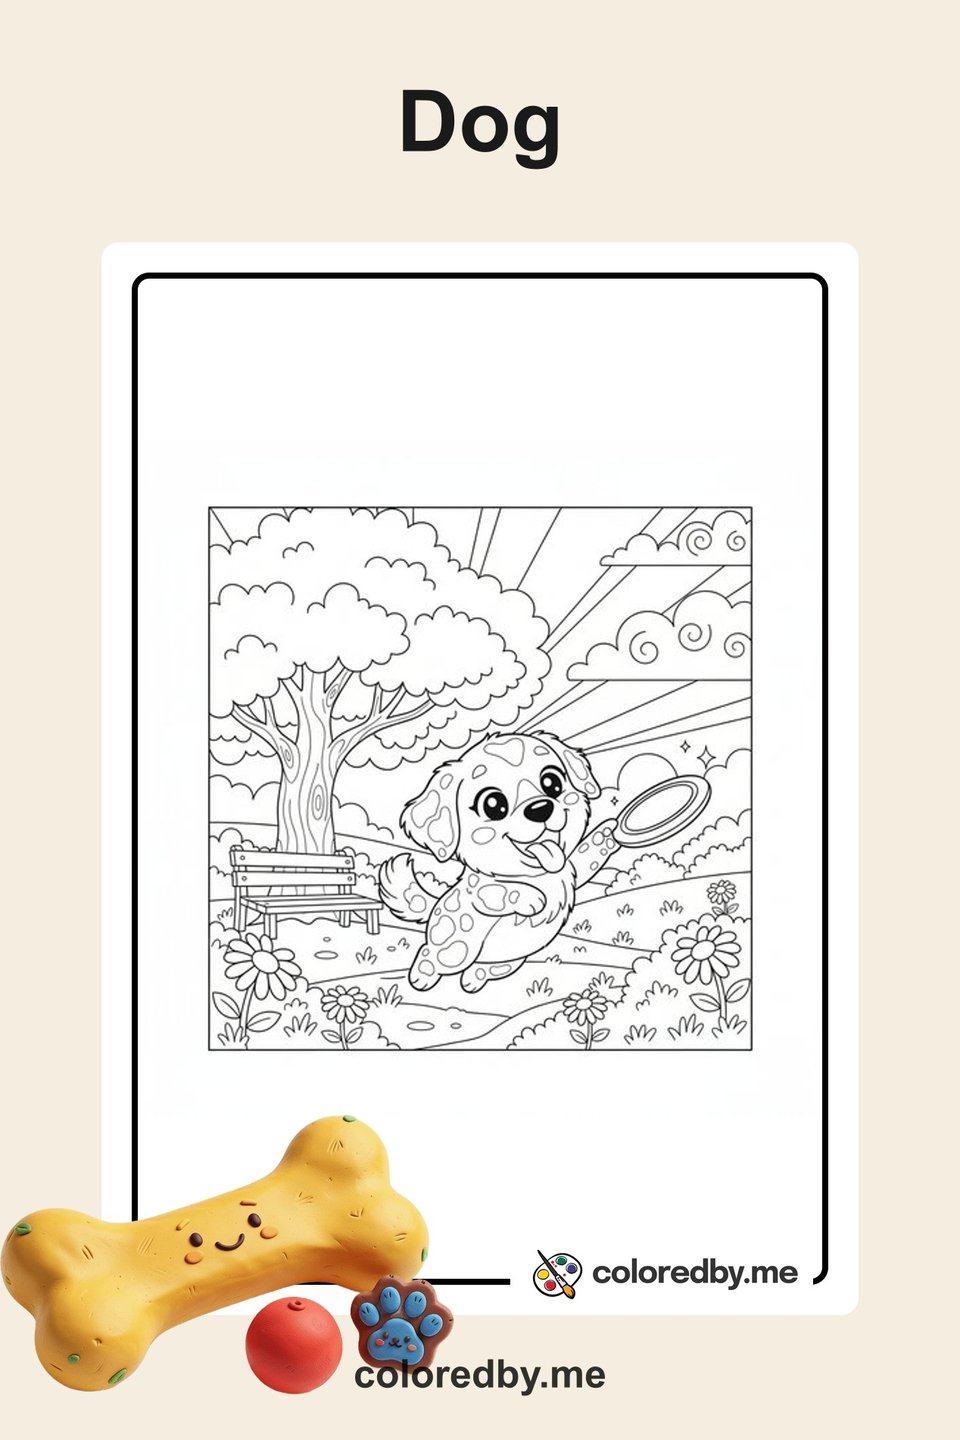
Dog
Free printable dog coloring pages for kids and adults. Adorable puppies, popular breeds, and playful pup designs to download and color.

Flower
Free printable flower coloring pages for kids and adults. Roses, sunflowers, bouquets, and beautiful garden designs to download and color.
Your next coloring page is one click away.
5 free pages every day. No sign-up needed.
Start creating free